반응형
Slider를 꾸밀 수 있는 여러 방법에 대해서 공부를 해보자
horizontal orientation을 기준으로 진행을 할거다
먼저 기본적인 slider의 모습은 다음과 같다
사실 Mac OS 환경에서는 기본 슬라이더가 제일 이쁘다. 하지만 리눅스 환경에서는...

다음으로는 PyQT 홈페이지에서 제공하는 예제를 보자.
https://doc.qt.io/qt-5/stylesheet-examples.html#customizing-qslider
Qt Style Sheets Examples | Qt Widgets 5.15.16
doc.qt.io
위의 예제코드에서 vertical만 horizontal로 바꾼 것이다.

간단하게, handle은 초록색, 진행된 곳은 분홍색, 진행되지 않은 곳은 흰색으로 되는 코드이다.
QSlider::groove:vertical {
    background: red;
    position: absolute; /* absolutely position 4px from the left and right of the widget. setting margins on the widget should work too... */
    left: 4px; right: 4px;
}

QSlider::handle:vertical {
    height: 10px;
    background: green;
    margin: 0 -4px; /* expand outside the groove */
}

QSlider::add-page:vertical {
    background: white;
}

QSlider::sub-page:vertical {
    background: pink;
}
하지만 내가 만들고 싶은 것은 handle의 위치와 상관없이 slider의 배경 생각을 자유롭게 바뀌는 slider이다. 이를 위해서는 stylesheet을 사용하는 것이 아닌 다음과 같이 custom slider class를 만들어야한다.
class CustomSlider(QSlider):
    def __init__(self, *args, **kwargs):
        super().__init__(*args, **kwargs)

    def paintEvent(self, event):
        painter = QPainter(self)
        groove_rect = QRect(self.rect().x(), self.rect().y(), self.rect().width(), self.rect().height())
        add_page_width = int(self.value() / (self.maximum() - self.minimum()) * self.rect().width())
        add_page_rect = QRect(self.rect().x(), self.rect().y(), add_page_width, self.rect().height())
        sub_page_rect = QRect(add_page_width, self.rect().y(), self.rect().width() - add_page_width, self.rect().height())

        # 그루브
        groove_color = QColor("#dddddd")
        painter.fillRect(groove_rect, groove_color)

        # add-page
        add_page_color = QColor("#b5b5b5")
        painter.fillRect(add_page_rect, add_page_color)

        # sub-page
        sub_page_color = QColor("#dddddd")
        painter.fillRect(sub_page_rect, sub_page_color)

        # handle
        handle_center = QPoint(self.sliderPosition() * self.width() / self.maximum(), self.height() / 2)
        handle_radius = 10
        handle_color = QColor("#eeeeee")
        painter.setBrush(handle_color)
        painter.drawEllipse(handle_center, handle_radius, handle_radius)
위 코드를 빌드하면 다음과 같은 slider가 나온다. 아직은 이전 코드와 같은 기능만 가능하다.

반응형
'Coding' 카테고리의 다른 글
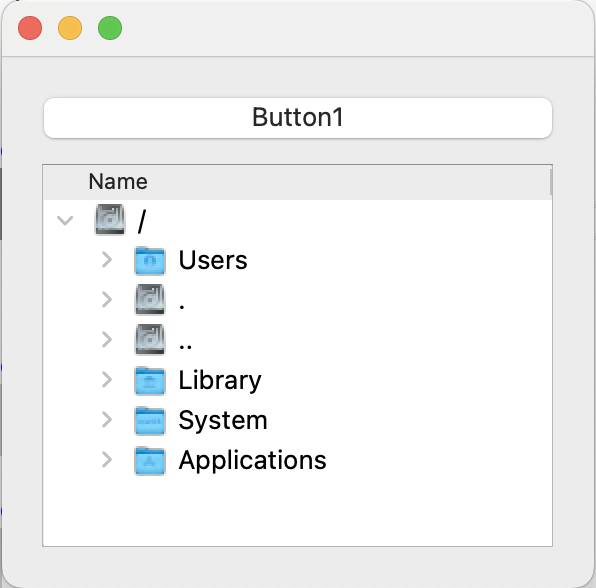
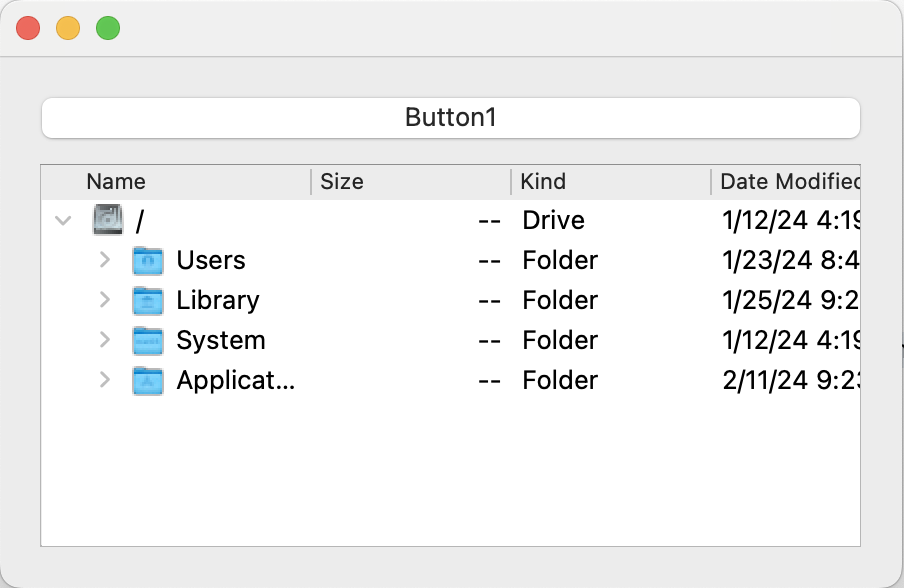
| [PyQt5] QTreeView와 QFileSystemModel 활용(2) - Filter (0) | 2024.02.12 |
|---|---|
| [PyQt5] QTreeView와 QFileSystemModel 활용(1) (0) | 2024.02.12 |
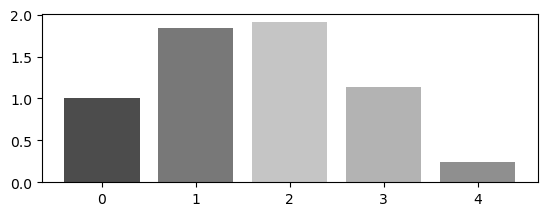
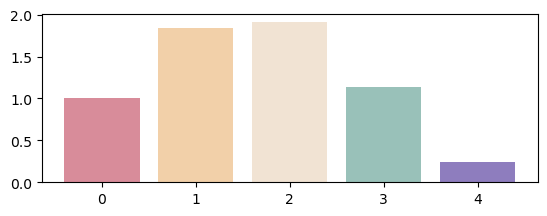
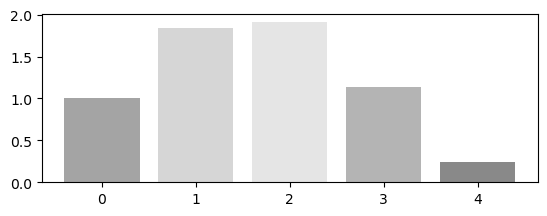
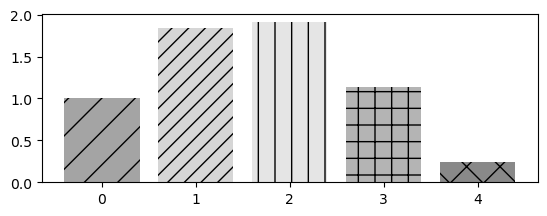
| [Python] Matplotlib을 사용해서 논문에 들어갈 그래프 완성도있게 그리기 (1) (0) | 2023.07.11 |
| [Pytorch] 임의의 배열/텐서 만들기 (0) | 2023.03.23 |
| [Python] Pillow PIL Image 열기 (0) | 2023.03.23 |